Since saving it from its fate of doom and destruction, I have had 2 people comment on this beaut. The first was the lady who previously owned it, she told me it was a great dresser, but needed some repairs and a new paint job. The second was another lady from the apartment down the row who told me she wanted to buy it once I repaired it (I didn't have the heart to tell her that I wasn't sure how to fix it, and that I get extremely attached to free items I find in dumpsters). I finally was able to come up with a solution for the drawer with the broken panel, and I think it turned out better than I expected.

The shotgun was NOT found in the dumpster
THE REPAIR

I took the drawer that was messed up and slowly started stripping off the two pieces of veneer that were broken (since these pieces are glued together, I just used a 1" chisel and moved from one end to the other loosening the broken boards from the rest of the drawer). I could have possibly only pulled back one layer of veneer, however the thickness of two somehow was the same as the new veneer I used to replace it... I didn't even think to measure that, so I was lucky it worked out so smoothly.
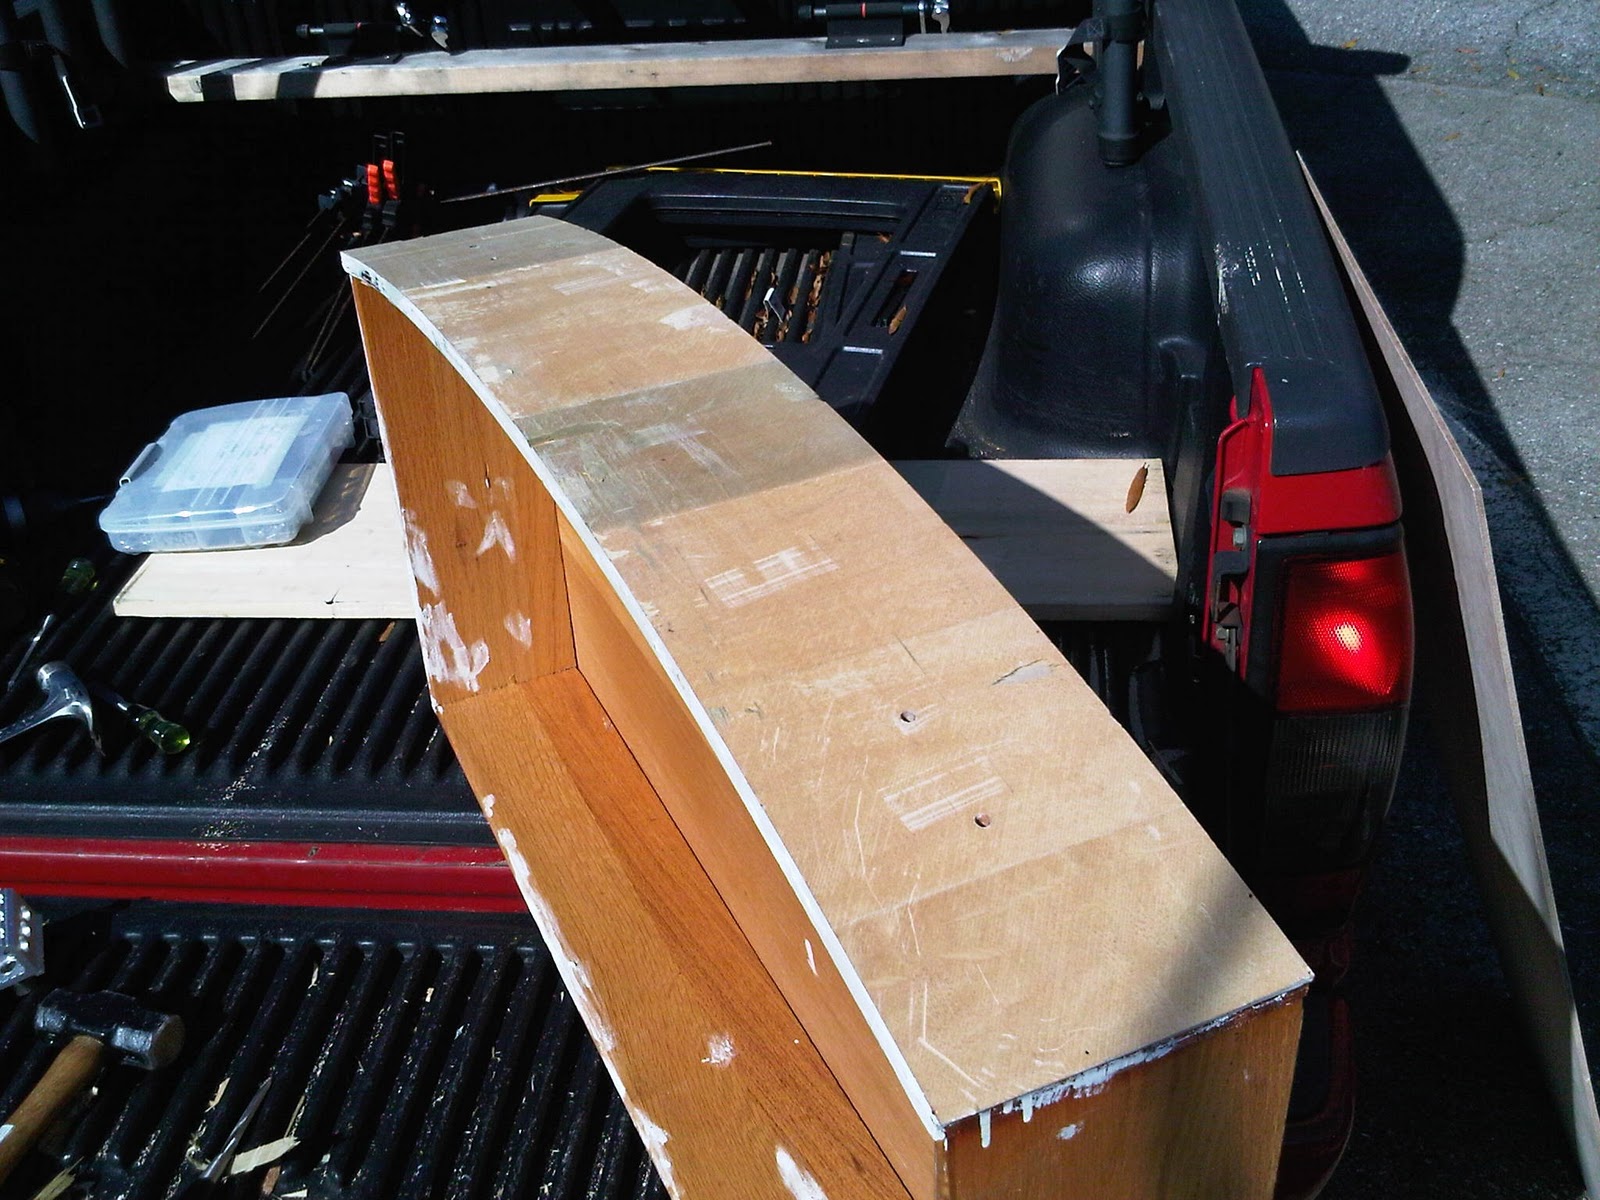
I bought the replacement veneer at Lowe's for about $7.

Since I do not have a table saw, I used my jig saw to cut the veneer to size. I used my speed square and a level to get a straight line from end to end and just cut it from there. Over the last 2 years I have had to develop a fairly steady hand (since I do not have room for some of the tools I would like), so fortunately I didn't botch it.

All of my clamps come from Harbor Freight... a buddy of mine told me about the store 6 months or so ago, and I have fallen in love ever since. I do not buy any electric tools there, but if its a dead blow hammer, chisel, or clamp, or any other random hand tool, that's where you will find me.

I stripped the paint off of the top with a paint thinner and sanded it smooth. From there I added Teak oil (my mom has used it on a number of her projects and I always like the look of it. Not to mention it is extremely durable)


A close up of the wood grain on top


THE FINAL PRODUCT

I finally painted the body with two coats of an off white (that ended up still being very white)...

And distressed the corners with my metal file.


The repaired drawer is the 1st full size one at the top... The wood color (under the paint) is a bit lighter than the rest of the dresser, but you don't really notice unless you are close to it.
The best news is Kristen agreed with my humble opinion that a new and improved TV would make this dresser look SO much better. Thus I thank the Lord for providing dumpster finds that lead to new TVs.


